
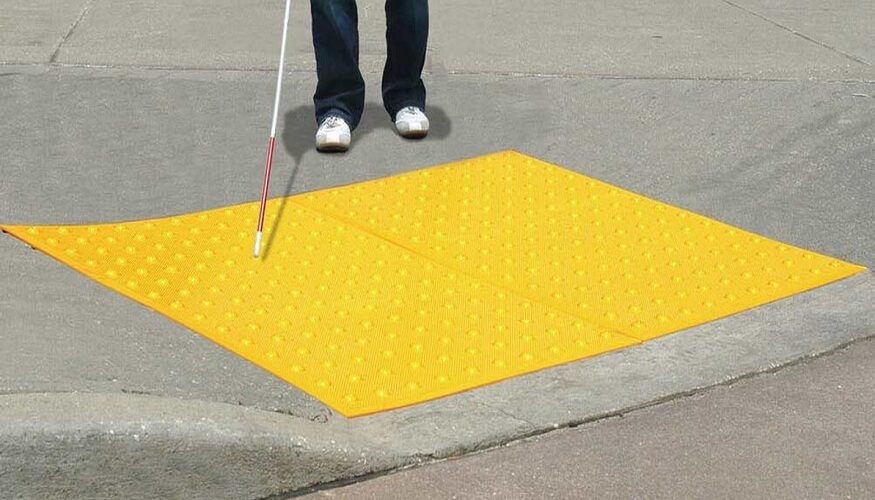
Truncated domes, also called detectable warning surfaces, are an important feature in outdoor environments to provide a tactile warning to individuals with visual impairments. These domes are typically made of rubber or other durable materials and are installed on the ground to alert individuals of potential hazards, such as stairs, drop-offs, or other tripping hazards.
If you are planning on installing a truncated dome in your outdoor space, here are some handy tips to follow:
#1: Determine the Location and Size of the Truncated Domes
The first step in installing truncated domes is to determine the location and size of the domes. Truncated domes should be placed in areas where there is a potential hazard, such as at the top and bottom of stairs, at the edge of a platform or landing, or at the entrance to a building.
The size of the truncated domes will depend on the specific location and the type of hazard. For example, domes placed at the top of stairs should be larger in size to provide a more noticeable warning. In general, truncated domes should be at least 2 inches in diameter and raised at least 0.9 inches above the surface.
#2: Prepare the Surface for Installation
Before installing the truncated domes, it is important to properly prepare the surface. The surface should be clean, dry, and level. Any debris or loose materials should be removed, and the surface should be smoothed out to ensure a stable foundation for the domes.
If the surface is not level, you may need to use a self-leveling compound to create a smooth, even surface. This is especially important if the surface is uneven or has cracks or holes.
#3: Choose the Right Adhesive
The type of adhesive you use will depend on the surface material and the type of truncated domes you are installing. There are several types of adhesives available, including epoxy, polyurethane, and silicone.
Epoxy adhesives are strong and resistant to moisture, making them a good choice for outdoor installations. Polyurethane adhesives are also strong and resistant to moisture, but they are more flexible and can handle temperature changes better. Silicone adhesives are more flexible and can handle temperature changes well, but they may not be as strong as epoxy or polyurethane adhesives.
#4: Install the Truncated Domes
Once you have prepared the surface and chosen the right adhesive, it’s time to install the truncated domes. Start by applying a small amount of adhesive to the back of the dome. Be sure to follow the manufacturer’s instructions for the amount of adhesive to use and the drying time.
Next, carefully place the dome on the prepared surface. Press down on the dome to ensure a secure bond. Repeat the process for each dome, making sure to leave enough space between the domes for ease of movement.
#5: Finish the Installation
After all the domes are in place, it’s important to allow the adhesive to fully cure according to the manufacturer’s instructions. This will ensure a strong and durable bond.
Once the adhesive has cured, you can use a sealant to protect the domes and extend their lifespan. A clear sealant will help to protect the domes from UV radiation and other weathering elements, while a colored sealant can help to match the domes to the surrounding environment.
#6: Regular Maintenance
Truncated domes require regular maintenance to ensure they are in good working order. This may include cleaning the domes to remove dirt, debris, and other particles that may have accumulated. You should also check the domes for cracks or other damage and make any necessary repairs. This will help to keep your dome in good shape for years to come.